The first step in fitting a flip-front is to replace the standard rubber rear and top mounts on the front subframe with
solid metal items, in order to minimise any possible movement of the front subframe once the metal front has been
removed. I just replaced the rear mounts at this stage, due to the difficulty of getting at the top mounts and the fact
that the engine and front would be coming out when Southam Mini and Metro Centre did all the welding and fitted the MG
Metro Engine I acquired. I then removed the bolts holding in the front mounts to facilitate removing the front panel.
Once the subframe is nice and secure on its new solid mounts, it's time to start removing the front end
The first step in fitting a flip-front is to replace the standard rubber rear and top mounts on the front subframe with
solid metal items, in order to minimise any possible movement of the front subframe once the metal front has been
removed. I just replaced the rear mounts at this stage, due to the difficulty of getting at the top mounts and the fact
that the engine and front would be coming out when Southam Mini and Metro Centre did all the welding and fitted the MG
Metro Engine I acquired. I then removed the bolts holding in the front mounts to facilitate removing the front panel.
Once the subframe is nice and secure on its new solid mounts, it's time to start removing the front end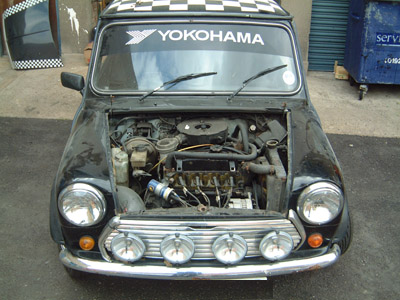 First Step is to remove the bonnet (right, click the thumb for a larger picture with the bonnet romoved ) Just held on
by the four bolts onto the hinges - you can remove the hinges themselves, but it's a really fiddly job and much easier
without the bonnet bashing you on the head at every opportunity! (I actually left removing the hinges until I'd finished
removing the front end to improve access, and it was still a tricky enough job)
First Step is to remove the bonnet (right, click the thumb for a larger picture with the bonnet romoved ) Just held on
by the four bolts onto the hinges - you can remove the hinges themselves, but it's a really fiddly job and much easier
without the bonnet bashing you on the head at every opportunity! (I actually left removing the hinges until I'd finished
removing the front end to improve access, and it was still a tricky enough job) 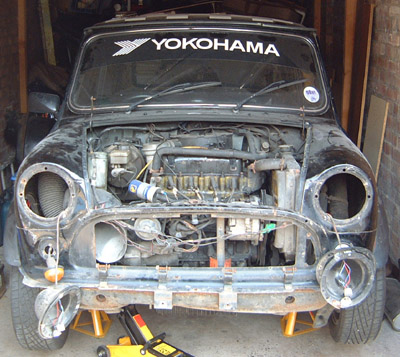
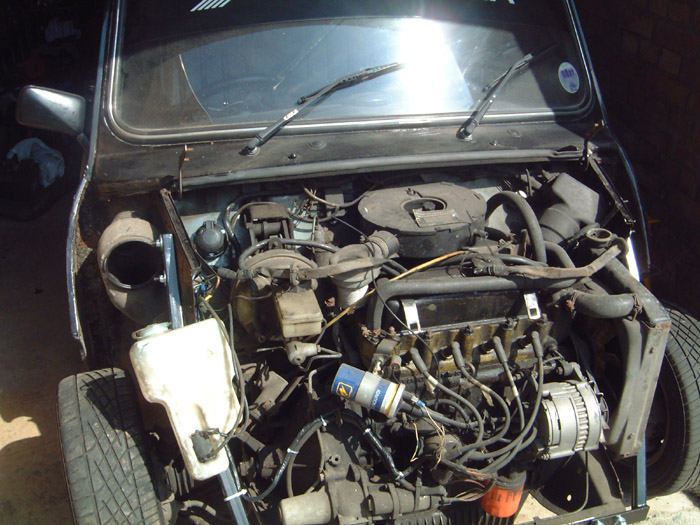
 Next Step is to remove the Grill and Grill Surround (All held in with self tapping screws) followed by the Headlights,
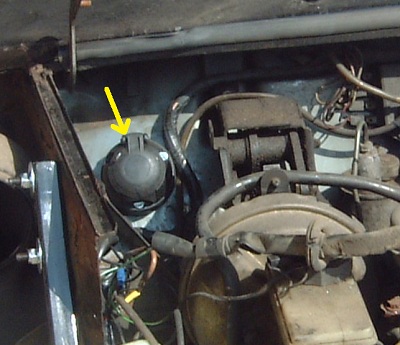
indicators, side repeaters, spotlamps (in my case) and bumper and Numberplate. A good idea for the electrics on the
front end is to use a car trailer electric coupling to enable the headlights and indicators to be easily disconnected
when the front end is removed. I mounted this on the bulkhead beside the offside inner wing, which is where the wiring
originally ran, see picture left, yellow arrow marks the trailer coupling bolted into position (picture is from after
the wing has been cut). It is also necessary to separate the wiring to run onto the front end from the rest of the
wiring loom forward of the trailer coupling, wrap up the loom again and tie it up in a safe route where it will not
foul on any moving or hot parts.
Next Step is to remove the Grill and Grill Surround (All held in with self tapping screws) followed by the Headlights,
indicators, side repeaters, spotlamps (in my case) and bumper and Numberplate. A good idea for the electrics on the
front end is to use a car trailer electric coupling to enable the headlights and indicators to be easily disconnected
when the front end is removed. I mounted this on the bulkhead beside the offside inner wing, which is where the wiring
originally ran, see picture left, yellow arrow marks the trailer coupling bolted into position (picture is from after
the wing has been cut). It is also necessary to separate the wiring to run onto the front end from the rest of the
wiring loom forward of the trailer coupling, wrap up the loom again and tie it up in a safe route where it will not
foul on any moving or hot parts. 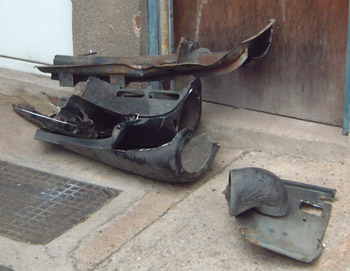 Now it's time to get grinding...
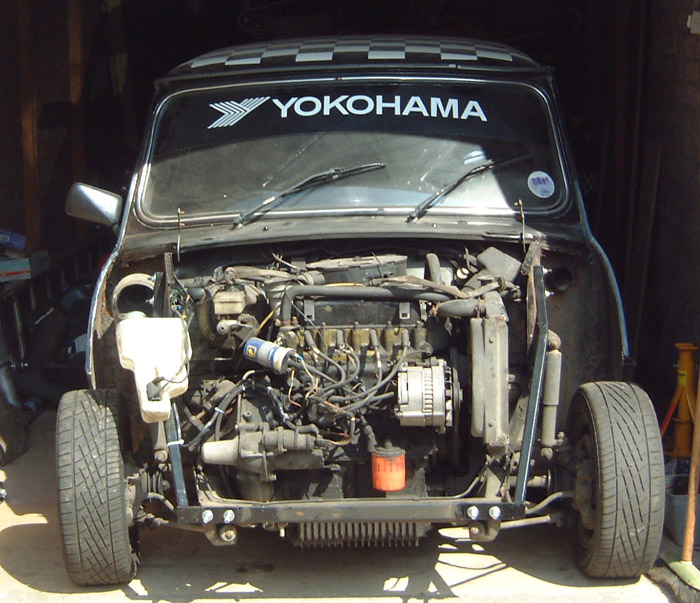
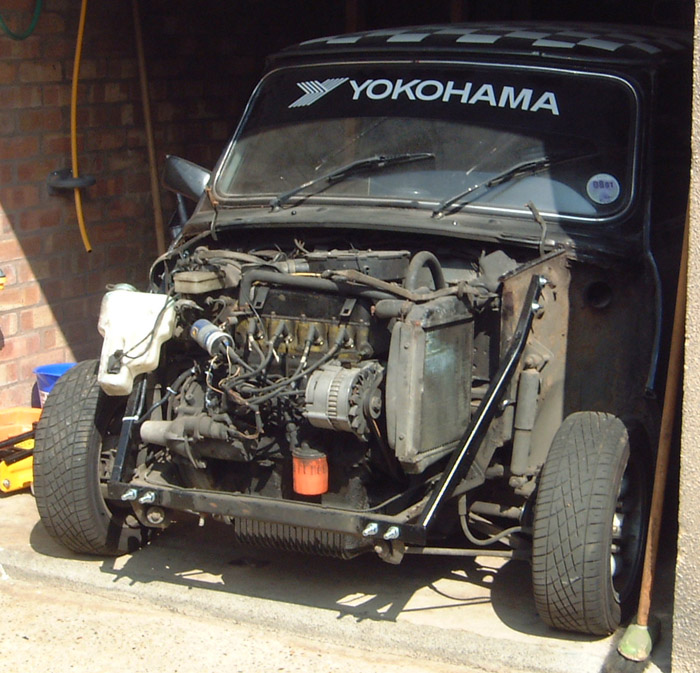
I started by grinding up the line between the A panels and the front wing (forward of the seam!), then along the seam between the wings and the scuttle panel (being very careful not to grind into the scuttle panel). My next cut was from the headlight aperture to the inner wing, and along the top of the inner wing, so that the majority of the wing came off easily (see the offcuts left). I then cut the front panel away from the inner wings, and it pretty much dropped straight off. The next job is to trim back the inner wings to about 25mm in front of the shock absorber mounts (you'll have to remove the screenwash bottle for this as it is mounted to the offside inner wing - I cut the metal bracket the bottle clips on to off the inner wing and kept it to re-mount the washer bottle in a different location). I then smoothed off the edges of any cuts I'd made with a grinding disk - Be very careful not to grind through any brake lines!
In order to compensate for any loss of rigidity in the mounting of the front subframe it is neccessary to fit brace bars - I got mine from MiniSpares. They come unpainted, so I gave them a few coats of Hammerite a couple of days before starting on removing the front end. All the holes were pre-drilled in the brace bars, which mount to the subframe via the original front mount hole, with an extra hole needing drilled on each side. I bolted them on with 12mm high tensile bolts and nylock washers (it would be potentially disastrous if the nuts worked their way loose!) With the brace bars bolted up to the subframe I then clamped the top of the brace bars to the inner wings, and drilled through the pre-marked holes into the inner wings, and bolted these on with 8mm high tensile bolts and nylock nuts.
As a finishing touch I bolted the bracket for the screenwash bottle to the offside brace bar and cable tied the wiring loom to it, though I may replace the screenwash bottle with a new bottle in a completely different location in the not too distant future. Click on the thumbnails below for larger pictures of it all in place.